This post sat in drafts for years, and is being published as-is. I might update it at some point, but probably not. Sorry!
There are a lot of reasons I might not want someone to knock on or open my office door. I work from home, which means meetings get interrupted. I have sensory processing issues, which means sometimes I can barely deal with human voices. I have an anxiety disorder, which means other times I can’t deal with, well, human interaction.
Maybe it’s stir-craziness during quarantine, or maybe this is just who I am, but I decided to solve this problem in the most convoluted way I could think of. So I wrote a server and arduino client for controlling gpio pins over wifi, and built myself a status indicator light.
The build
Here is the initial prototype:
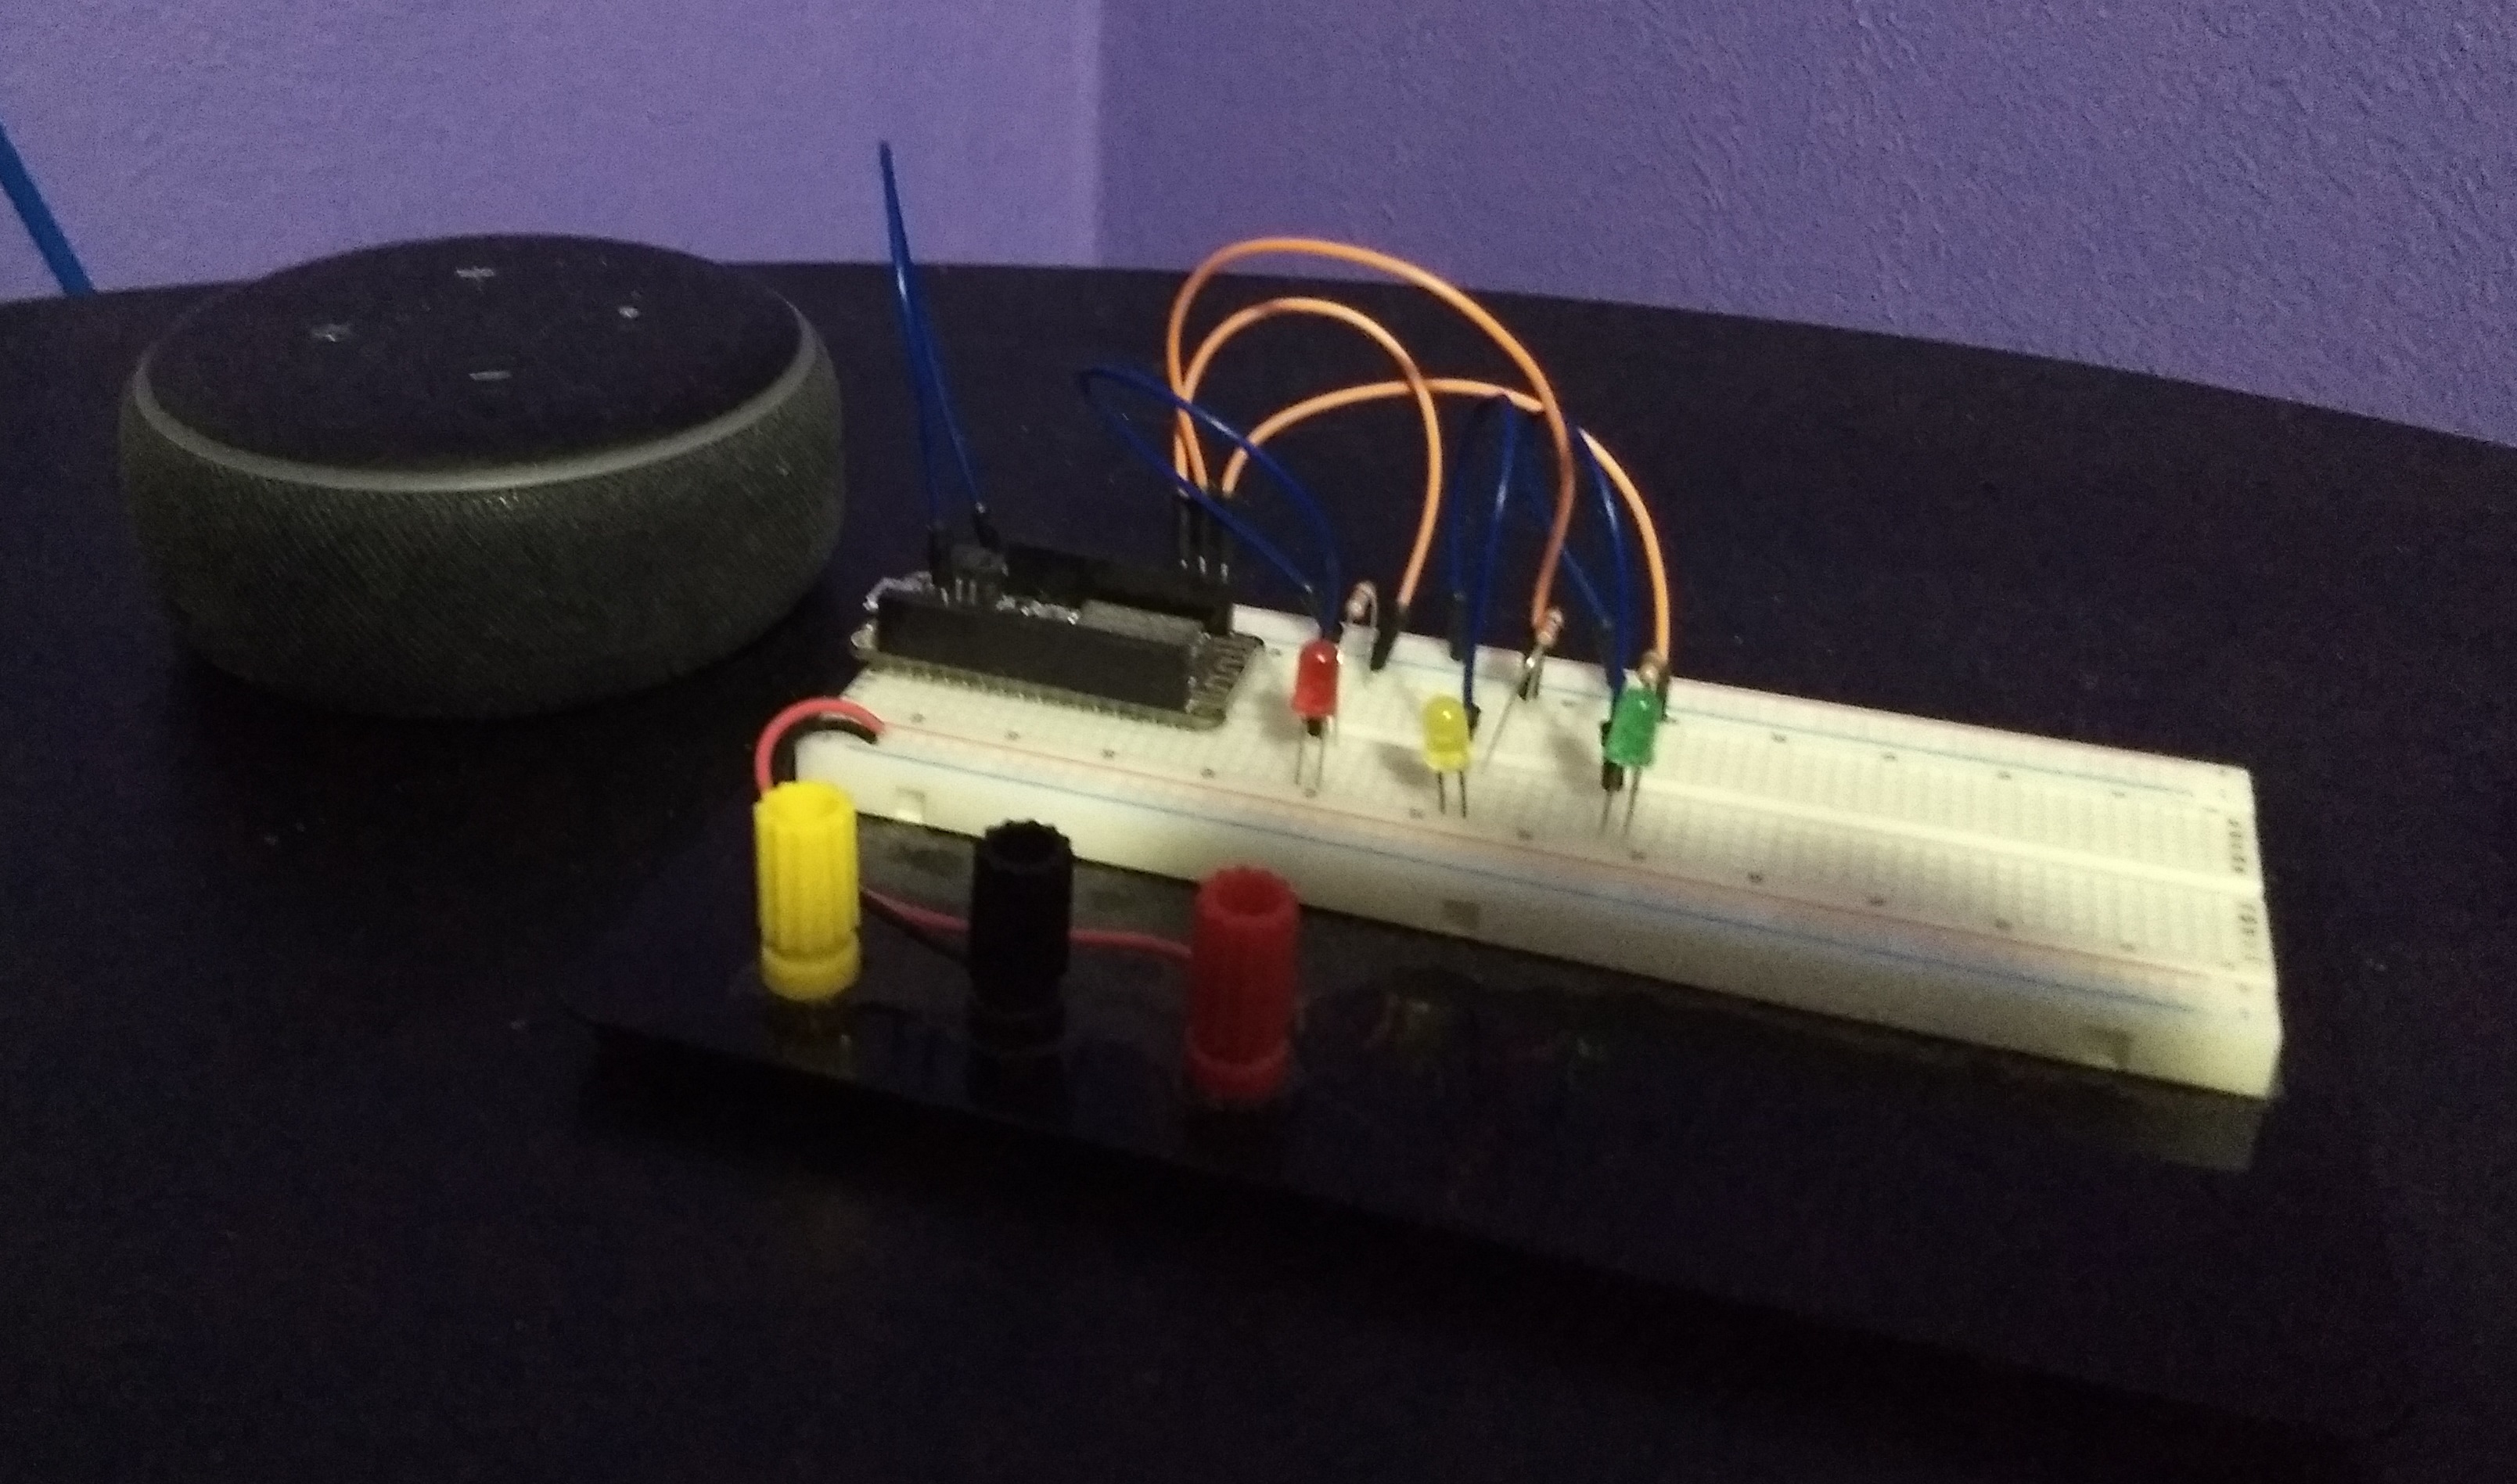
After some cleanup (and adding a fourth light) we get this nice little box:
{{/< imgproc “wiring.jpg” />/}} {{/< imgproc “finished.jpg” />/}}
The code
I tried to keep the code generic, but not too generic. I could have had the webhook server just record and relay an arbitrary string, for instance. But the server needs to be aware of ‘momentary’ switches, (for future ideas I have) and I want some sort of input validation, so instead the server expects a simple little json array.
The client code currently only works on ESP8266 chips. (specifically, my prototype is an Adafruit Feather Huzzah) One ‘fun’ thing about the ESP8266, and more broadly Arduino programming in general, is that there are a lot of different libraries that can be used to achieve the same thing, with varying levels of ease and documentation. Getting HTTPS to work was surprisingly challenging, and I briefly went down a rabbit-hole of Arduino filesystems and hex-encoded CA certificates before discovering BearSSL’s WiFiClientSecure library.
The server code is here and the client code is here.
Triggering the webhook
Anything that can POST to a URL can be used to write to the webhook and change the light. I’m using IFTTT’s Amazon Alexa integration, which seems to be the easiest way to get an Alexa to send a webhook.
Understanding the pin mapping
The PIN_MAP variable in config.h needs to be configured based on the particular board you’re using, and which GPIO pins
you’ve decided to use for that board. As mentioned above, this project is using an Feather Huzzah with the ESP8266 chip.
The pinout for that board looks like this:
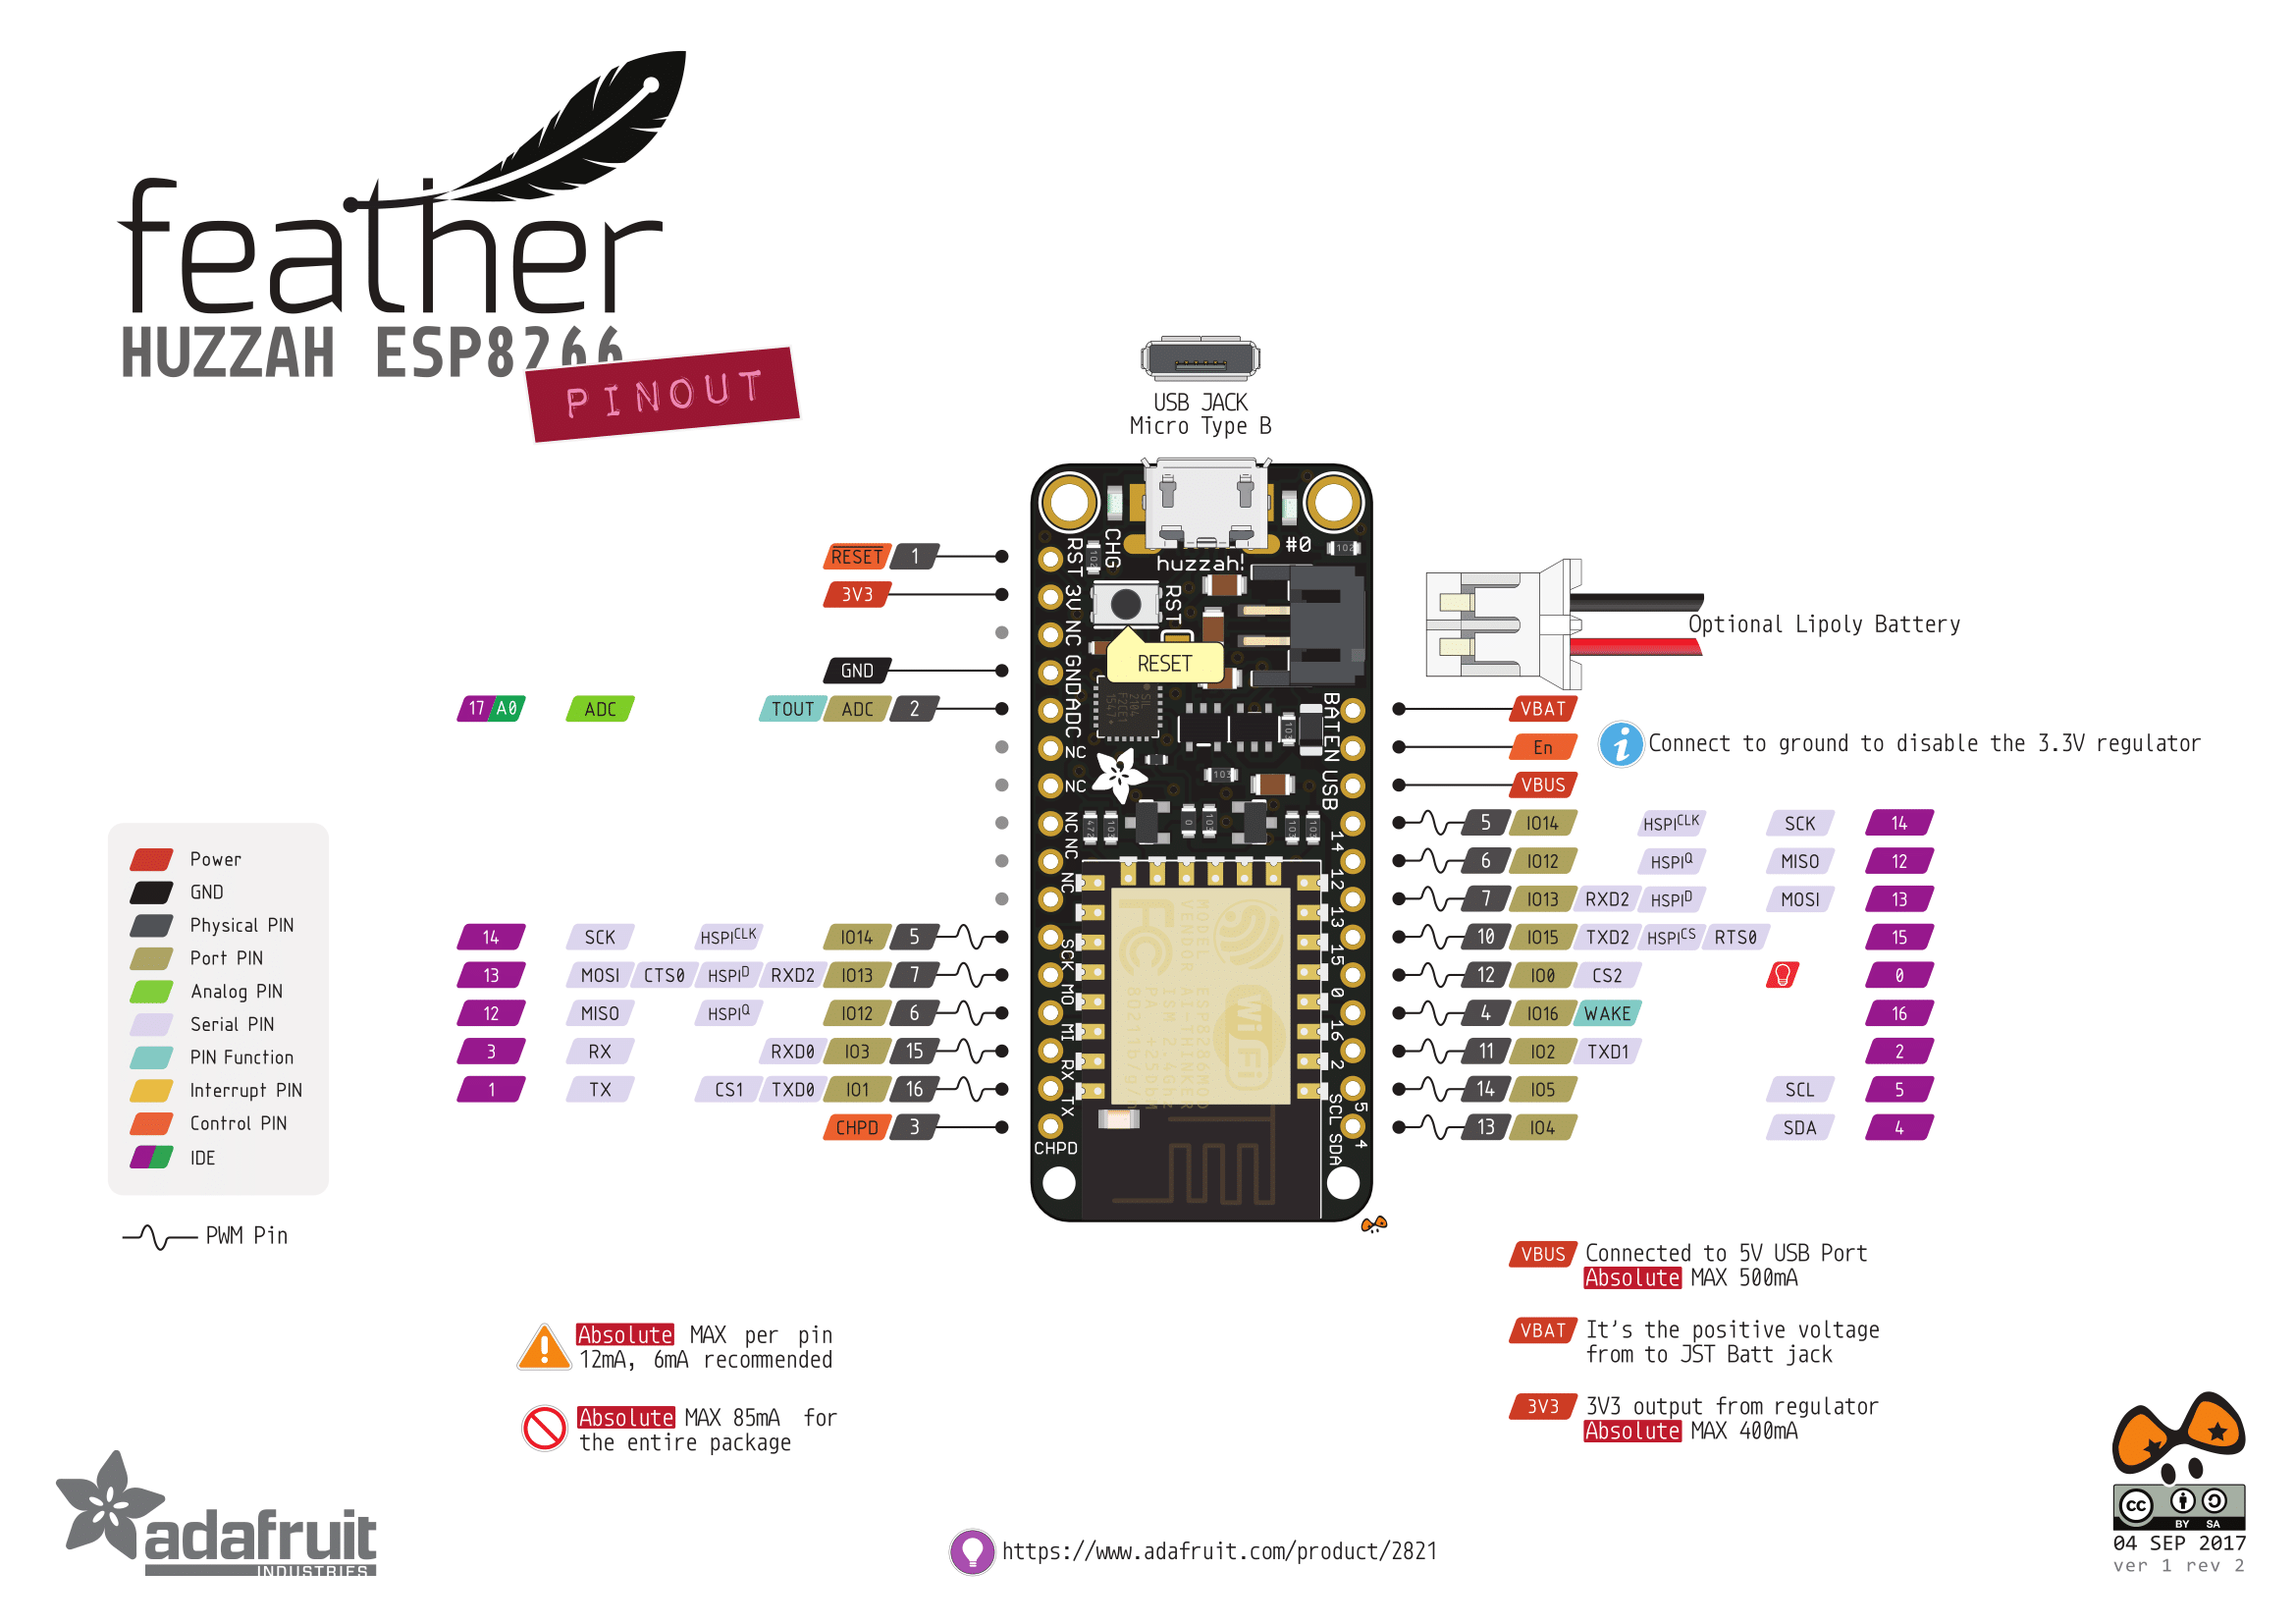
I’m using the “bottom” four pins on the right-hand side, pins 4, 5, 2, and 16. So PIN_MAP looks like this:
{
  {4, 1}, // green
  {5, 1}, // yellow
  {2, 1}, // red
  {16, 1} // blue
};
The order in this array determines which pin maps to each webhook data point. For example, if the webhook data received looks like [1,0,1,0], that would turn on the green and red lights.
Security Concerns
Don’t use this code for anything critical! The only protection this has against malicious input is the webhook URL being kept a secret. Assuming your webhook server is either kept on your local network or secured behind an HTTPS proxy, that should be a reasonable guarantee, but it’s still a fairly shaky amount of security. I considered requiring POST requests to be signed by a secret certificate of some sort, but that would rule out using something as simple as IFTTT to send the webhooks. So instead, I’ve sacrificed a measure of security for ease of use.